
(2) 1-quart jars or (1) 2-quart jar, wide mouth is ideal
4-oz jelly jar, glass fermentation weight, or your weight of choice
Large bowl
Canning funnel (not necessary but useful)
Airlock (not necessary but useful)
Remove any outer damaged or limp leaves from your cabbage, setting aside a clean piece to use later. Quarter the cabbage and slice crosswise until only the core remains. Slice the cabbage thinly as the salt will draw the water out more quickly and facilitate fermentation.
Grate the unpeeled carrots, thinly slice the onion, mince the garlic cloves and add to bowl with cabbage along with any herbs or spices of your choosing.
Add any remaining salt and mix everything together with your hands, gently squeezing as you do so. Let the mixture sit for 20-60 minutes (amount of time can vary depending on freshness of cabbage) to allow the salt to pull water out of the cabbage and create a brine that the vegetables will ferment in without rotting. Check on the bowl during this time and mix and squeeze to aid in the release of moisture.
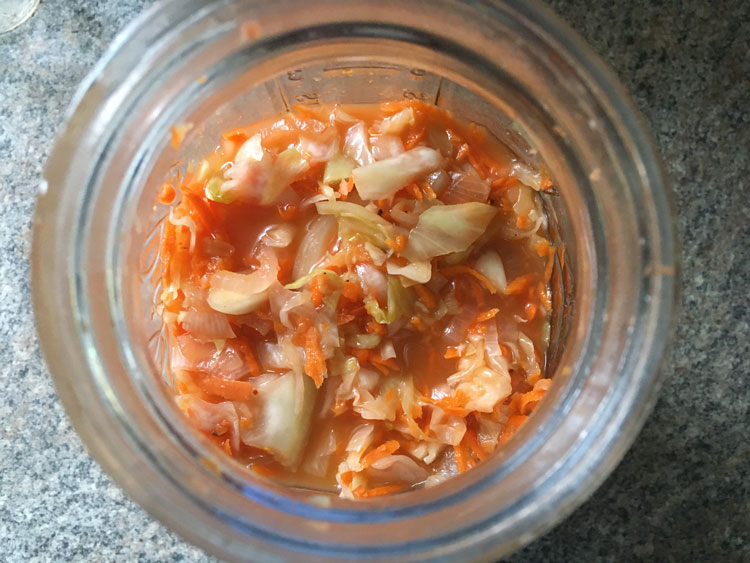
When the cabbage has become limp and released ample juice, pack the juicy mixture into your jar(s), pressing down firmly as you go. You want to fill any air pockets and allow the brine to rise above the top of the mixture. Cover the mixture with your saved outer cabbage leaves and press again. Leave 1-2 inches between the top of the packed cabbage and the top of the jar as it will expand during the fermentation process as carbon dioxide increases.
Place whatever weight you are using on the mixture to hold it down below the brine. If you are not using any type of airlock, lightly screw the lid on, leaving it a bit loose to allow carbon dioxide to escape. You may also need to “burp” it, especially during the first few days. The company Masontops makes a product called “Pickle Pipes” that have a small nipple on them that allows the carbon dioxide to escape, but also prevents oxygen from getting in. They are not too expensive and are easy to use, but there are plenty of other options out there as well.
I recommend putting your jar(s) on some type of dish, bowl or cookie sheet as the brine can often overflow around days 2-4. Label your jar with the date, keep it out of direct sunlight and away from excess heat.
As fermentation progresses beyond the first week, you may see the brine drop below your sauerkraut. This can vary depending on the season and temperature, but it is normal and there is no need to worry. At this point, the levels of lactic acid are high enough that they will prevent any harmful bacteria from taking hold. You can begin tasting after a week or so, until it reaches a taste and texture that appeals to you. Ideal time frame fermentation can be anywhere from 10 days to 6 weeks, depending on the season and the temperature in your home.
Once you feel it is to your liking, remove the airlock and weight, screw lid on tightly and place in the fridge. Even in the fridge it will continue to ferment and improve with age. Now, enjoy! I like to have a forkful or two (or four!) with meals, on salad, topped on sautéed vegetables….the options are endless!